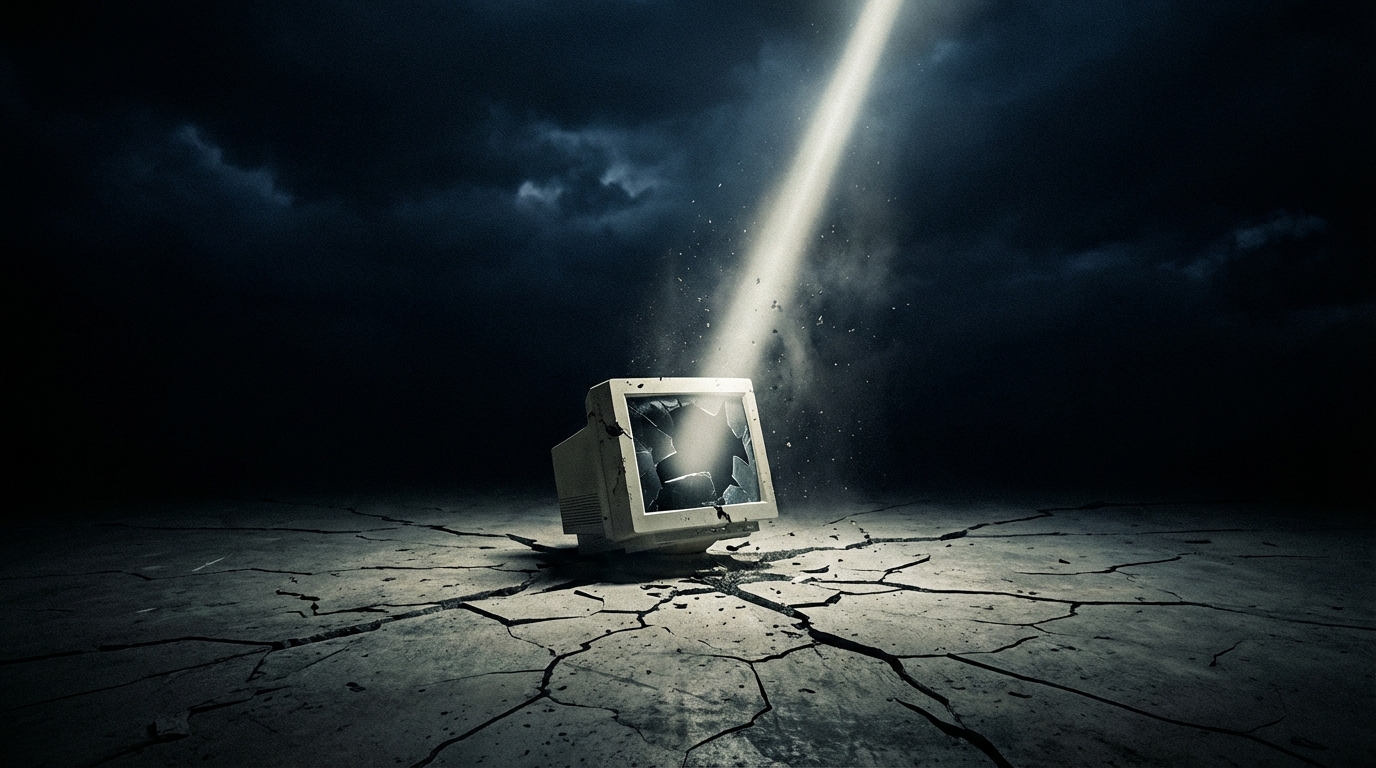
Windows Black Screen After Update: Unlock Your PC’s Potential Fast!
Did you know that a staggering 70% of users experience issues after Windows updates, with the black screen being one of the most common and frustrating? Imagine booting up your computer, ready to tackle your day, only to be met with an abyss of black. No icons, no cursor, just… darkness. This dreaded “Windows black screen after update” scenario can feel like a digital dead end, leaving you stranded and wondering if your precious data is lost forever. But fear not! This comprehensive guide is your ultimate lifeline, packed with proven strategies to swiftly diagnose and conquer the black screen of death, restoring your PC to its former glory. We’ll delve deep into the common culprits, explore effective troubleshooting steps, and equip you with the knowledge to recover your PC fast, minimizing downtime and maximizing your productivity.
The Dreaded Black Screen: Understanding the Culprits
Before we dive into the fixes, it’s crucial to understand why this black screen phenomenon occurs after a Windows update. While updates are designed to enhance security and functionality, they can sometimes introduce unexpected conflicts. Here are some of the most frequent offenders:
Corrupted System Files
Windows updates involve modifying critical system files. If the update process is interrupted, or if there are pre-existing issues with your hard drive, these files can become corrupted. This corruption can prevent Windows from loading properly, resulting in a black screen. Think of it like a crucial piece of a puzzle being damaged – the whole picture can’t be assembled.
Driver Incompatibility
Hardware drivers are the translators between your operating system and your devices (like your graphics card, network adapter, or even your mouse). A recent Windows update might install a generic driver or a new version that isn’t fully compatible with your specific hardware. This mismatch can cause display issues, leading to that ominous black screen. Your graphics card driver is a particularly common culprit, as it’s directly responsible for what you see on your monitor.
Boot Configuration Data (BCD) Errors
The Boot Configuration Data (BCD) is a vital piece of information that tells Windows how to start up. If an update messes with the BCD, your computer might not know how to load the operating system, resulting in a black screen before Windows even has a chance to appear. This is akin to a car’s ignition system failing – the engine won’t even turn over.
Display Connection Issues
While less common after an update, it’s always worth a quick check. Sometimes, a loose display cable or a malfunctioning monitor can be mistaken for a software issue. If the update somehow reset display settings or caused a minor glitch, this could manifest as a black screen, especially if you have multiple monitors.
Malware or Virus Interference
Though updates generally aim to improve security, in rare cases, a faulty update could inadvertently create a vulnerability, or pre-existing malware might interfere with the update process, leading to system instability and the black screen issue.
Insufficient Disk Space
If your system drive is critically low on space, a large update might fail to install correctly, leading to corrupted files and boot problems. Windows needs ample room to unpack and install update files.
Your Recovery Toolkit: Step-by-Step Solutions
Now that we understand the potential causes, let’s roll up our sleeves and tackle this black screen problem. We’ll start with the simplest solutions and progress to more advanced recovery methods.
Step 1: The Universal Fix – Patience and a Simple Reboot
Before diving into complex troubleshooting, give your PC a moment. Sometimes, a Windows update might be running background processes that take a surprisingly long time. Let your computer run for at least 15-20 minutes. If nothing changes, perform a hard reboot: press and hold the power button until the computer shuts down completely, then press it again to turn it back on. This can resolve temporary glitches that might be causing the black screen.
Step 2: Check Your Display Connections
This is the easiest physical check.
- Ensure your monitor is powered on. Look for the power light.
- Verify the video cable (HDMI, DisplayPort, VGA) is securely connected to both your monitor and your PC. Try unplugging and replugging it at both ends.
- If you have multiple monitors, try disconnecting all but one. Sometimes, an update can cause issues with multi-monitor setups.
- Test with a different monitor or cable if possible. This helps rule out hardware failure.
Step 3: Accessing Windows Recovery Environment (WinRE)
The Windows Recovery Environment (WinRE) is a powerful built-in toolset designed to help you fix boot problems. Getting into WinRE when your screen is black requires a specific method:
- Start your PC.
- As soon as the Windows logo or spinning dots appear (or just after the manufacturer logo disappears), press and hold the power button to force a shutdown.
- Repeat this process two more times.
- On the third startup attempt, Windows should automatically enter the “Automatic Repair” mode. You’ll see a screen saying “Preparing Automatic Repair.”
- If Automatic Repair fails, you’ll be presented with the Advanced options screen, which is your gateway to WinRE.
Alternative Method: If you have a Windows installation USB drive or DVD, you can boot from it. Insert the media, restart your PC, and press the appropriate key (often F2, F10, F12, or Del) during startup to enter your BIOS/UEFI settings. Change the boot order to prioritize the USB/DVD drive, save changes, and exit. When the Windows Setup screen appears, select your language and click “Repair your computer” in the bottom-left corner.
Step 4: Using WinRE – Your First Line of Defense
Once you’re in the Advanced options screen within WinRE, you have several powerful tools at your disposal:
a) Uninstall Updates
This is often the most direct solution if a recent update caused the problem.
- Navigate to Troubleshoot > Advanced options > Uninstall Updates.
- You’ll likely see options to uninstall the “Latest quality update” or the “Latest feature update.”
- Start with the quality update, as these are smaller and more frequent. If that doesn’t work, try the feature update (which is a larger, less frequent version update).
- Click the relevant option and follow the prompts. Your PC will restart.
b) System Restore
System Restore allows you to revert your PC’s system files to an earlier point in time when everything was working correctly. Crucially, this does not affect your personal files, but it will remove applications, drivers, and updates installed after the restore point was created.
- From the Advanced options screen, select System Restore.
- Click Next.
- You’ll see a list of available restore points. Choose one dated before the problematic update occurred. If you don’t see any, you may need to click “Show more restore points.”
- Follow the on-screen instructions. Your PC will restart.
c) Startup Repair
This is essentially the “Automatic Repair” you might have seen initially. It automatically diagnoses and fixes common Windows startup problems, including issues with the Master Boot Record (MBR), BCD, and system files.
- From the Advanced options screen, select Startup Repair.
- Let the process complete. It might take a while.
d) Command Prompt – For the More Technically Inclined
The Command Prompt offers powerful tools for deeper system repairs. Use these commands carefully, as incorrect syntax can cause further issues.
- From the Advanced options screen, select Command Prompt.
- Check Disk (chkdsk): This command scans your hard drive for errors and attempts to fix them.
- Type `chkdsk C: /f /r` and press Enter. (Replace `C:` if your Windows is installed on a different drive).
- `/f` fixes errors on the disk.
- `/r` locates bad sectors and recovers readable information.
- You might be prompted to schedule the scan for the next restart. Type `Y` and press Enter.
- Restart your PC to let the scan run. This can take a considerable amount of time.
- System File Checker (SFC): This tool scans for and repairs corrupted Windows system files.
- Type `sfc /scannow` and press Enter.
- Let the scan complete. If it finds and repairs errors, restart your PC.
- Deployment Image Servicing and Management (DISM): DISM can repair the Windows image that SFC uses. It’s often used in conjunction with SFC.
- Type `DISM /Online /Cleanup-Image /RestoreHealth` and press Enter.
- This command requires an internet connection.
- Once complete, run `sfc /scannow` again.
- Rebuild Boot Configuration Data (BCD): If you suspect BCD corruption, you can try rebuilding it.
- Type `bootrec /fixmbr` and press Enter.
- Type `bootrec /fixboot` and press Enter. (You might receive an “Access is denied” error here, which is sometimes normal. If so, proceed to the next step).
- Type `bootrec /rebuildbcd` and press Enter.
- Follow the prompts to add installations to the boot list.
Step 5: Safe Mode – A Minimalist Approach
Safe Mode starts Windows with a minimal set of drivers and services. If your PC boots successfully in Safe Mode, it strongly suggests that a third-party driver or application is causing the black screen issue.
- From the Advanced options screen, select Startup Settings.
- Click Restart.
- After your PC restarts, you’ll see a list of options. Press 5 or F5 to select “Enable Safe Mode with Networking.” (Networking is useful if you need to download drivers).
- If Windows loads in Safe Mode:
- Uninstall the problematic update: Go to Settings > Update & Security > Windows Update > View update history > Uninstall updates.
- Update or Roll Back Drivers: Open Device Manager (right-click the Start button). Pay close attention to any devices with a yellow exclamation mark. Right-click the graphics card driver and select “Update driver” or “Uninstall device” (then restart and let Windows try to reinstall it). You might also consider rolling back the driver if a recent update occurred.
- Uninstall recently installed software: If you installed any new programs just before the update, try uninstalling them.
- After making changes in Safe Mode, restart your PC normally to see if the issue is resolved.
Step 6: Reset This PC – A More Drastic Measure
If none of the above methods work, “Reset This PC” is a more significant step. It reinstalls Windows but gives you the option to keep your personal files.
- From the Advanced options screen, select Reset This PC.
- You’ll have two options:
Keep my files: Removes apps and settings but keeps your personal data. This is the preferred option.*
Remove everything: Reinstalls Windows and removes all personal files, apps, and settings. This is a last resort if you can’t save your files.*
- Follow the on-screen prompts. This process can take a significant amount of time.
Step 7: Clean Install of Windows – The Ultimate Reset
If even “Reset This PC” fails, or if you chose “Remove everything” and still have issues, a clean install of Windows is the most definitive solution. This involves completely wiping your drive and installing a fresh copy of Windows using a USB installation media.
- Back up your data: If possible, connect your hard drive to another computer or use a bootable USB drive with file transfer capabilities to back up any critical files you haven’t already saved.
- Create Windows Installation Media: Download the Media Creation Tool from the official Microsoft website on another working computer and create a bootable USB drive (at least 8GB).
- Boot from USB: Follow the steps mentioned earlier to boot your problematic PC from the USB drive.
- Install Windows: Follow the on-screen prompts for a clean installation. Ensure you select the correct drive and partition for installation, and be aware that this will erase everything on that drive.
Preventing Future Black Screen Nightmares
Once you’ve successfully recovered your PC, it’s essential to implement strategies to minimize the risk of this happening again.
Pause Windows Updates Strategically
Windows 10 and 11 offer options to pause updates for a limited time. If you’re in the middle of a critical project, consider pausing updates for a week or two until you have more breathing room. Navigate to Settings > Update & Security > Windows Update > Advanced options and look for the “Pause updates” setting.
Create System Restore Points Regularly
Make it a habit to create manual restore points before installing major software or performing significant system changes. Go to Control Panel > System and Security > System > System protection and click “Create” under “Create a restore point.”
Keep Your Drivers Updated (Carefully)
While driver incompatibility can cause black screens, outdated drivers can also lead to instability.
- Use Windows Update: Often, Windows Update will offer driver updates.
- Manufacturer Websites: For critical components like graphics cards, visit the manufacturer’s website (NVIDIA, AMD, Intel) directly for the latest drivers.
- Avoid Third-Party Driver Updaters: These can sometimes install incorrect or unstable drivers.
Maintain Sufficient Disk Space
Ensure your C: drive (or wherever Windows is installed) has at least 15-20% free space. Regularly uninstall unused programs and run Disk Cleanup.
Run Regular Scans for Malware
Keep your antivirus software up-to-date and perform regular scans to ensure malware isn’t interfering with system processes.
Consider the Timing of Feature Updates
Feature updates (major version upgrades) are more prone to causing significant issues than smaller quality updates. If possible, wait a few weeks after a major feature update is released to let Microsoft iron out any initial bugs. You can check the official Microsoft Windows release health dashboard for known issues.
Conclusion: Reclaiming Your Digital Workspace
Experiencing a Windows black screen after an update is undoubtedly a stressful event. However, by understanding the common causes and systematically working through the troubleshooting steps – from simple checks to advanced recovery options like WinRE, Safe Mode, and even a clean install – you can effectively reclaim your PC. Remember the power of System Restore and Uninstall Updates within WinRE as your primary weapons. Implementing preventative measures like pausing updates strategically and maintaining your system can significantly reduce the chances of encountering this frustrating issue again. Your PC is a vital tool, and with the right knowledge and approach, you can conquer the black screen and get back to what matters most – your productivity and digital life.
Frequently Asked Questions (FAQs)
Q1: Will a Windows update delete my personal files?
Generally, Windows updates (quality updates and even feature updates) are designed not to delete your personal files. They primarily update system files and software. However, if an update fails catastrophically and leads to system corruption requiring a “Reset This PC” with the “Remove everything” option or a clean install, then your files would be erased. This is why regular backups are crucial.
Q2: How long should I wait before assuming the update failed and the screen is black?
It’s wise to wait at least 15-30 minutes, especially after a major feature update, as background processes can take a long time. If the screen remains black with no signs of activity (like disk drive lights blinking consistently) after this period, then it’s likely time to troubleshoot.
Q3: Is Safe Mode the same as System Restore?
No, they are different. Safe Mode starts Windows with a minimal set of drivers and services, primarily used to diagnose if a third-party element is causing a problem. System Restore reverts your system files to an earlier point in time, effectively undoing recent changes like driver installations or software updates that may have caused issues. You might use Safe Mode to perform a System Restore or uninstall problematic updates.
Q4: What’s the difference between “Reset This PC” and a “Clean Install”?
“Reset This PC” reinstalls Windows while offering the option to keep your files. It’s a built-in Windows feature accessible through WinRE. A “Clean Install” involves using installation media (like a USB drive) to completely wipe the drive and install a fresh copy of Windows, offering a more thorough reset but requiring more steps and potentially data loss if not backed up.
Q5: My graphics driver seems to be the problem. How do I fix it in Safe Mode?
Once in Safe Mode with Networking, you can:
- Right-click the Start button and select Device Manager.
- Expand Display adapters.
- Right-click your graphics card (e.g., NVIDIA GeForce, AMD Radeon).
- Choose Update driver and select “Search automatically for drivers.”
- If that doesn’t work, try Uninstall device. Check the box to “Delete the driver software for this device” if prompted, then restart your PC. Windows will attempt to reinstall a basic driver, or you can then download the latest driver from the manufacturer’s website (NVIDIA, AMD, etc.) and install it manually.
Q6: Can I prevent Windows from installing a specific update that caused problems?
Yes, Windows offers options to temporarily pause updates or even use the “Show or hide updates” troubleshooter tool (available from Microsoft support) to block specific updates from reinstalling, especially if they are known to cause issues. However, keep in mind that blocking security updates for extended periods is not recommended.
—
“This article is provided for general information only and does not constitute legal, financial, or professional advice. While every effort is made to ensure the information is accurate at the time of writing, no guarantee is given as to its completeness or ongoing accuracy. The author cannot be held responsible for any errors, omissions, or actions taken based on this content.”